Demonstration or Written Steps: Choosing How to Pass on a Skill
Demonstration or written steps: choose the format that makes a shared skill easier to follow, practise and revisit, with less confusion at the workbench.
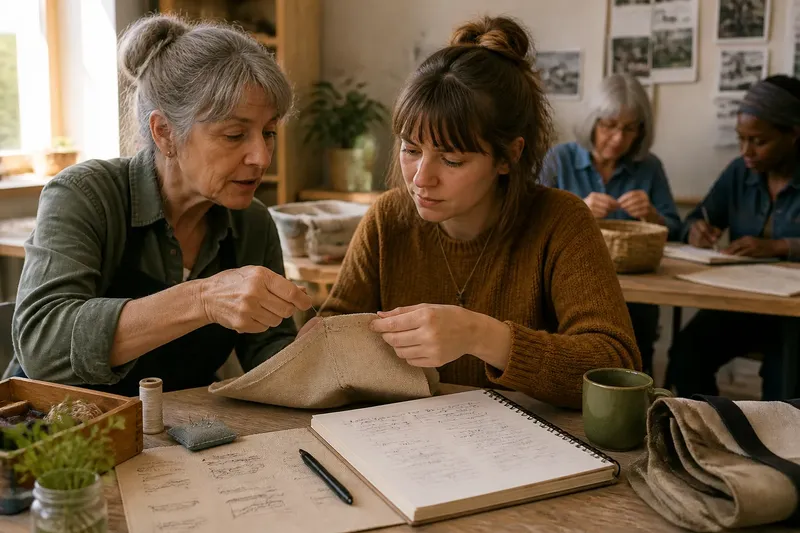
At a community table, a neighbour explains how to sharpen garden shears while a learner turns the blade the wrong way round. The instructions sound clear enough; the tool disagrees. For passing on a skill, demonstration or written steps should be chosen by the information the learner needs, not by the teacher’s preferred format.
A demonstration makes movement and material response visible. Written steps preserve order and names for later reference. Choose which should lead by looking at the task, the learner’s working conditions and what may be difficult to recall.
What does a demonstration make easier to see?
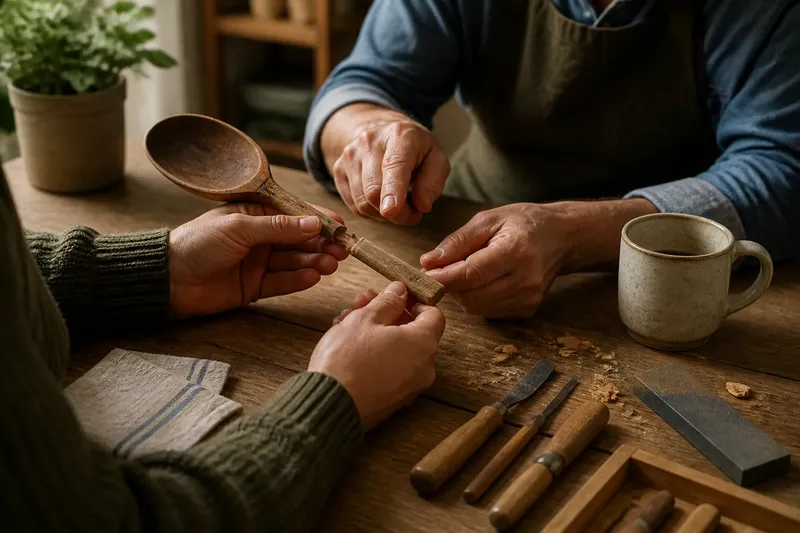
Showing is useful when a skill depends on a change that happens during the work. A learner can watch how a hand shifts as a knot tightens, or how fabric edges move when a stitch is pulled. Those adjustments can be hard to describe because they respond to the material rather than following a fixed script.
Demonstration can also make a judgement visible. When pruning a small fruit tree, a teacher can point to the branch and show where a cut would sit. Words such as “above” or “outward” may be misread when the branch turns in someone’s hands.
There are limits. In a crowded room, a learner may see the teacher’s shoulder instead of the working area. Slow down at decision points, turn the work so people can see it, and use a sample when the actual item is too small or awkwardly placed.
When do written steps help most?
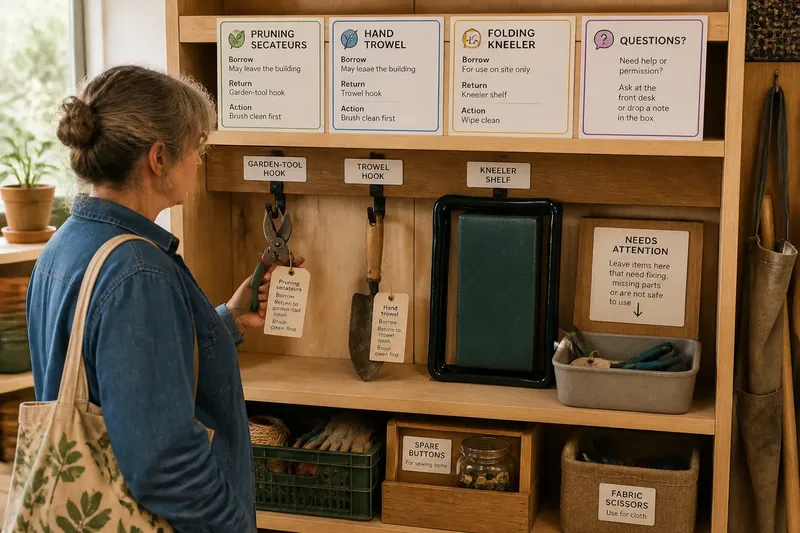
A written sequence suits tasks with a repeatable order, such as setting up a hand loom or sorting saved seeds into labelled envelopes. Learners can pause, gather a tool or return after a break without asking someone to repeat the instructions.
Text is also useful for names and distinctions. A mending group might record “running stitch”, “backstitch” and “blanket stitch” beside simple sketches. That gives learners a reference when they practise away from the table.
Writing is less helpful when it tries to describe an unfamiliar sensation with phrases such as “pull until it feels right”. Break actions into short steps and state what the learner should see before continuing. If the essential cue cannot be put into words, use a demonstration or a sample as well.
How do you choose between demonstration and written steps?
Start with the point where a learner is most likely to get stuck. If it depends on hand position, timing or a material’s response, lead with a demonstration. If it depends on remembering a stable sequence or identifying parts by name, lead with written steps.
Then consider where people will practise. If they will work at home or in a shared garden without a teacher nearby, a usable reference matters. If the work cannot be paused easily, arrange a clear demonstration and make sure learners can see the relevant moment.
Say a neighbourhood group is learning to mend a split seam in a canvas bag. The teacher sets out a scrap of similar canvas, a needle and thread, then shows how to align the edges and pass the needle through without letting the layers shift. Next, the teacher writes a short sequence naming the stitch and the order of work. Learners try the seam with the sheet beside them; the observable result is a joined edge they can compare with the sample, while the written sequence helps them keep their place.
How can a handout work beside the task?
Write for someone holding the material, not someone reading at a desk. Use one action per step and begin with a clear verb: “Fold the edge towards the inside” is easier to use than “The edge should then be folded”. Name the object when several similar pieces are on the table.
Keep steps in the order of the work. Add a check where a mistake would be difficult to undo, and describe what the learner should see. “Check your work” is not a check; it merely hands the uncertainty back.
Use a labelled sketch when position or shape is awkward to explain. Make sure its orientation matches the material in front of the learner. Elaborate photographs, decorative covers and laminated sheets are not worth the effort if the sequence itself remains unclear.
What should you check before choosing a format?
- Check whether the difficult part is a visible movement; if it is, demonstrate it slowly, otherwise write the action in a short step.
- Check whether the task has a stable order; if it does, provide numbered written steps, otherwise show the decision points and note where choices can vary.
- Check whether learners will practise without a teacher; if they will, leave a concise reference, otherwise keep the session focused on the demonstration.
- Check whether everyone can see the working area; if they can, demonstrate in place, otherwise turn the work, use a larger sample or reposition the group.
- Check whether an important cue depends on touch or material response; if it does, let learners handle a suitable sample, otherwise describe the cue in plain words.
- Check whether unfamiliar names are part of the task; if they are, write them beside a sketch or object, otherwise avoid adding a glossary that learners will not need.
Which questions do teachers often ask?
Should I demonstrate first or hand out the instructions first?
Begin with the format that clarifies the main difficulty. Show a movement learners need to see; for a straightforward sequence, let them follow the written steps as you explain.
How long should written instructions be?
Include the actions and checks a learner needs, then remove repeated explanations. If a sentence contains several actions, split it so the learner can find the next one quickly.
What if the skill changes with the materials available?
Record what stays consistent and identify where adaptation may be needed. Show how the material responds, and name any local substitute only when it is suitable for the task.
How can I tell whether someone can practise alone?
Ask the learner to say what comes next, then let them try a small part without narration. If they pause or misread a step, revise that point rather than adding explanation everywhere.
What should learners take away?
Leave them with the reference that matches the task: a concise sequence, a labelled sketch or a sample to compare with their work. Explain what each one is for, so nobody has to guess whether the paper is a recipe, a record or just something to keep flat.
For a shared skill, demonstration or written steps is a choice about what must be seen and what must be recalled. A clear movement can travel through a demonstration; a named sequence can travel on a page. Before the next gathering, ask someone to use the instructions without narration and amend only the point that causes confusion. That is usually more useful than redesigning the whole handout.